Knitting with wool, cotton, and silks can be quite expensive. Acrylic yarn is much more affordable and easy to find. When knitting for a child, choosing acrylic yarn over specialty fibers may be the best option, because they're easy to launder. Yet, wool and silk have that special texture and look that feels wonderful slipping through our fingers and catches our eye. How can we achieve all of our fiber wants and not break the bank? Unraveling unwanted sweaters, blankets, or other items will allow you to use these beautiful fibers for much less.
 NOTE: Before beginning to take your sweater apart, be sure to launder your item/s following instructions for the natural fiber you're working with.
 If you have a hard time grabbing the loop, you may need go back to step 5 and try again. It may take a couple of tries to get the correct piece of yarn. It takes a little practice.
Here are some pictures of my very first unraveling projects. I purchased the brown, 100% lambs wool, J.Crew sweater at a Salvation Army thrift store for $3.49. It's not pretty, but the wool was great for what I wanted. After taking the sweater apart, I knitted a Booga Bag. The Booga Bag was knitted, then felted. There was plenty of yarn left over, so I made a hat and mittens. I still have more brown yarn.
  |
 |
Hat & Mittens |
Finding recyclable natural fibers is easier
than you may think.
- The first thing you should do is rummage through your own closet.
- You may have unwanted items waiting to be repurposed/upcycled.
- Make a trip to you local thrift store.
- Many thrift stores have half off days, which will allow you to purchase items very inexpensively.
- Stop at yard sales.
- Don't be afraid to poke through the clothes table
- Let your friends know you're looking for wool.
- They may have old things they no longer want.
Strategies to use when on the hunt for natural fibers
- Read labels
- Know what you're looking for
- 100% wool, or wool blends are great finds.
- 100% cotton, Cotton/Ramie blend (Ramie is a natural fiber, which is softer than cotton)
- 100% silk or silk blends
- Search for big sweaters. Large sweaters provide the greatest amounts of yarn.
- Have an idea of what you want to make, and be aware of the thickness of the yarn.
- Thinner ply yarns can be doubled, but they won't be twisted together and may not give you the look you want.
- Look inside sweaters to see what kind of seams were used to sew the item together.
- If all the seams are serged, don't bother with it. The yarn will come apart in many little pieces
- If it's a hand knit sweater, it will take a little more effort to take the seams apart, because each piece was hand sewn together with a needle. Stitches will need to be pulled out individually. If you love the yarn it's made from, go for it. It will be worth the time and effort.
- If the seams are machine sewn, the stitching will be in about 1/4 inch from the edge. This kind of stitching can easily be pulled out without much trouble. The edges of each piece should be visible and look like the edge of any hand knit item.
- Scan for stains, and decide if you can work around them and still have enough yarn left over.
- Watch for moth holes
- One or two holes isn't a big deal
- When choosing wool items, make sure the wool hasn't felted.
- If you like the color of an item that has felted some, you may want to use that item for a felted craft project.
- Natural colored wool, like Irish knit sweaters, can easily be dyed.

Sweater used for the yarn below - I'm a beginner, and I've had success with Kool-ade mixes, buttercup flowers and paste food coloring. I'll be doing a Black Raspberry dying in August. Watch for my blog.

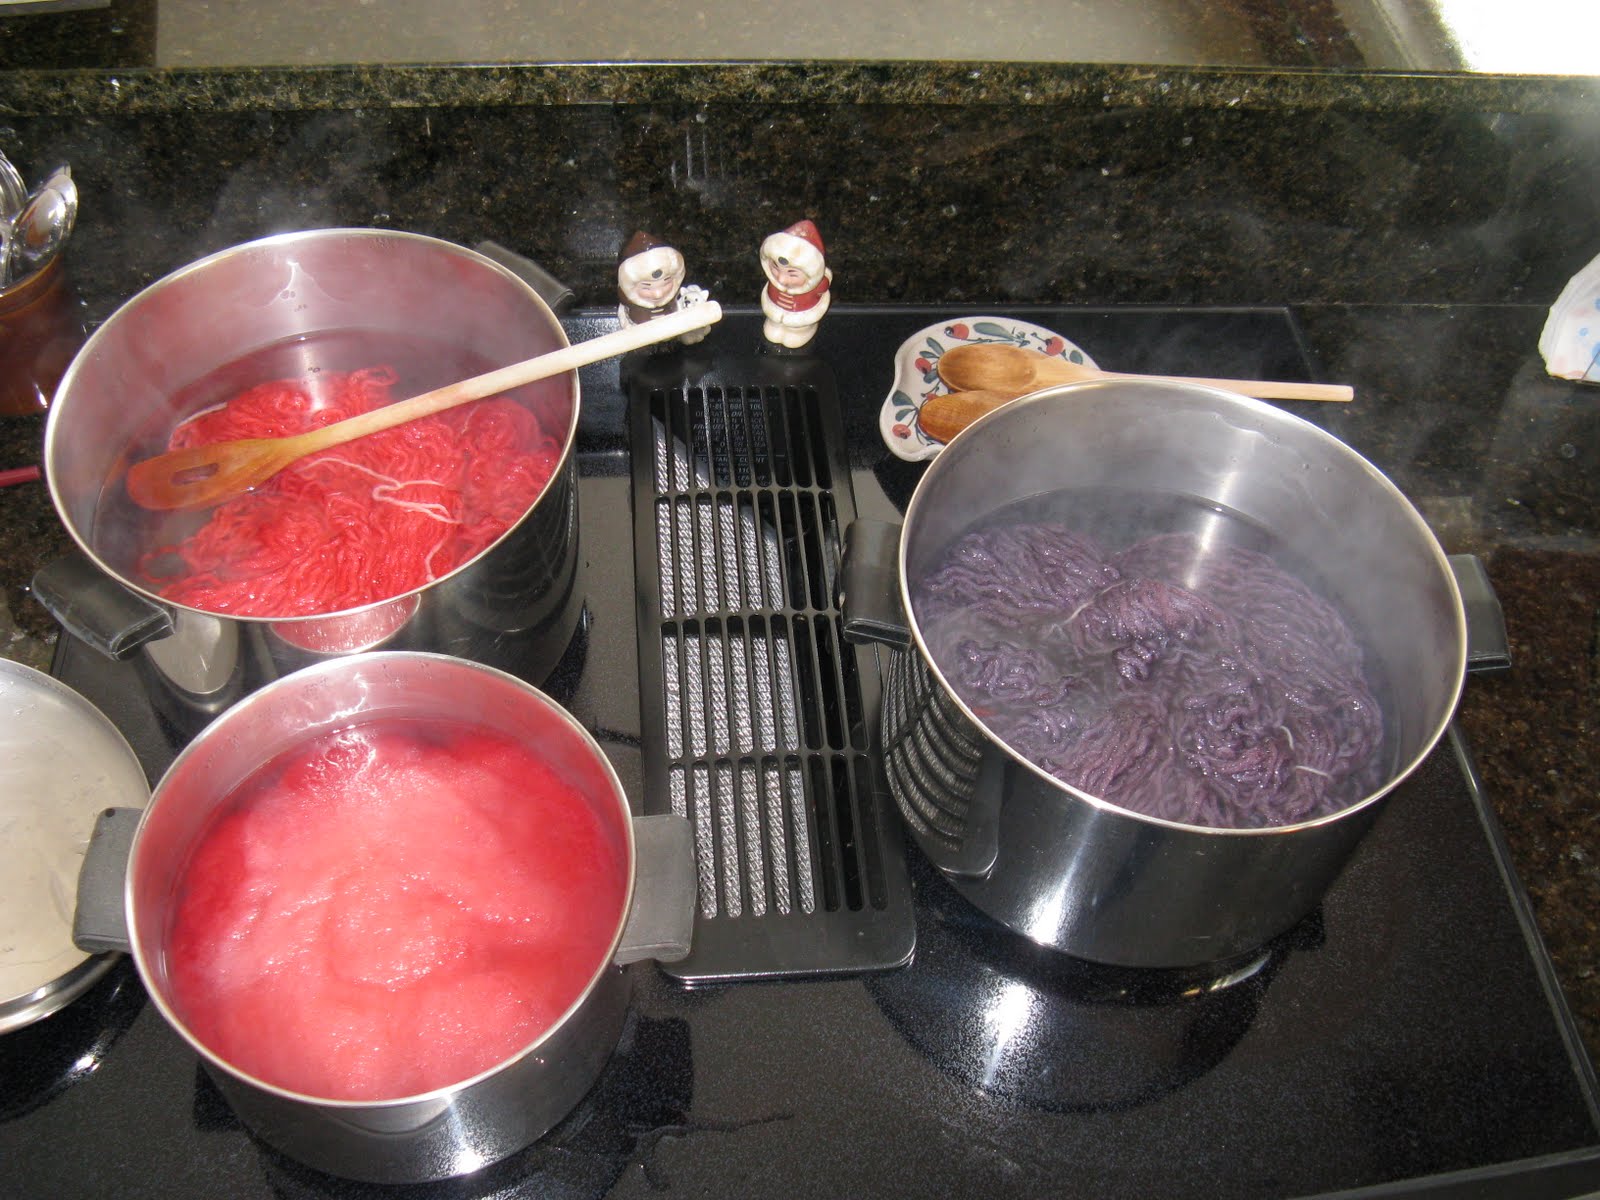 |
| Yarn being dyed with Kool-ade |
 |
| Drying |
 |
| Green, blue and tan balls were dyed with paste food coloring. |
 |
Buttercup dyed yarn. The swatch on top is the original color |
 NOTE: Before beginning to take your sweater apart, be sure to launder your item/s following instructions for the natural fiber you're working with.
How to take a machine-stitched
sweater apart
-
Turn the sweater inside out and find a seam
The top of the V is on the right - Look at the way the seam stitching is going. The stitch should be in the shape of a V. You will be working with the top part of the V as we move forward.
- Follow the stitching (top of V) to an end. Example - edge of a sleeve, bottom of the waistband.
- Place a seam ripper, or small scissors, under a V close to the end.
Lift the thread you just clipped back toward the bottom of the V. You will see a small loop sticking up. Place the seam ripper under the V,and clip the thread.
 - Carefully, grab the little bottom loop (it will be laying flat under the loop you pulled bach) and give it a gentle pull. The thread should start to pull like a zipper and begin to open the seam.
- Sometimes, the thread will get stuck in the fibers. Don't pull too hard. Move to the seam that's beginning to open and split it apart. Then move back to the thread and pull some more. You may need to do this several times as you move along the seam.


 |
Push the tiny loop to the left, and grab the piece of yarn that's laying just beneath the loop. Take it out of the loop and gently pull. |
 If you have a hard time grabbing the loop, you may need go back to step 5 and try again. It may take a couple of tries to get the correct piece of yarn. It takes a little practice.
  |
| Serged shoulders |
NOTE: Sometimes, you will find that the top of the sleeves, front and back panels are serged. I've played with taking the serging out, but it's not worth fighting. Grab your scissors and clip close along the serged stitching. Many short strands of will come off before you get to a longer continuous piece of yarn. I save these little pieces and wind them into balls to make felted balls. Some will be little felted balls, and other will be felted into dryer balls, which are a little bigger. If you don't know what dryer balls are, take a look at this link. Dryer Balls
Once you're done taking your sweater apart, look for a loose thread at the top of one piece and start unraveling. The yarn will be rippled from the knitting. There are ways to straighten it out, but if you're going to be doing basic knitting, with no big yarn over loops, there's no need to do anything. Again, knitting with this yarn will help you decide how you want to deal with the ripples.
Here's a link for more information regarding unraveling yarn and removing the kinks from your new yarn.
Have fun!
0 comments:
Post a Comment